REVIEW · TENERIFE
Teide National Park: Stargazing Experience
Book on GetYourGuide →Operated by Discover Experience · Bookable on GetYourGuide
If you think you know the stars, you will be surprised. This 80-minute Teide National Park stargazing outing turns you from sky-blind to sky-aware with constellation navigation and high-grade telescopes.
I especially like the way the night starts simple, with naked-eye orientation like spotting Polaris and using the zodiac/ecliptic so your brain has something to anchor to.
One real consideration: it gets cold fast at altitude, so if you run under-dressed, the experience can turn into a quick battle with numb fingers.
In This Review
- Key moments that make this tour work
- Teide National Park: why the sky feels so close
- The 80-minute flow: what happens after sunset
- Step 1: Naked-eye sky orientation (before the telescopes)
- Step 2: Telescope observing once you have your bearings
- Step 3: Turning what you see into something you keep
- Guide style matters: what to look for in the night’s teacher
- Telescopes at Teide: what you gain beyond photos
- Meeting point and getting there without stress
- Weather reality check: cold is part of the program
- Who this tour is for (and who should skip it)
- Price and value: why $41 can feel fair
- Booking timing: the moon and why it matters
- Quick planning checklist before you go
- Should you book this Teide stargazing tour?
- FAQ
- What’s the duration of the Teide National Park stargazing tour?
- Where do I meet for the tour?
- What’s included in the price?
- What should I bring to stay comfortable?
- Are pets allowed?
- What languages are the guides?
- Does the moon affect what I’ll see?
- Who might want to avoid this tour based on health?
Key moments that make this tour work
- Orientation first, then telescopes so you know what you’re looking at
- Polaris and the celestial north pole taught in plain, practical steps
- Zodiac line and ecliptic guidance to help you track objects without guessing
- Greek mythology through the constellations for fast memory hooks
- High-grade telescopes plus an astrophoto telescope for images of what you see
- Low light pollution at Teide makes even “small” things look dramatic
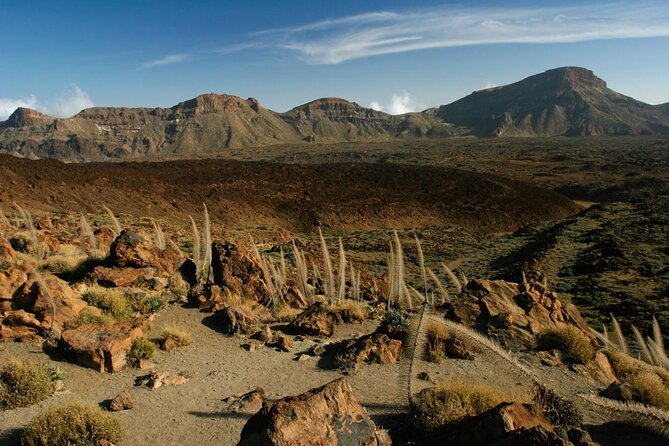
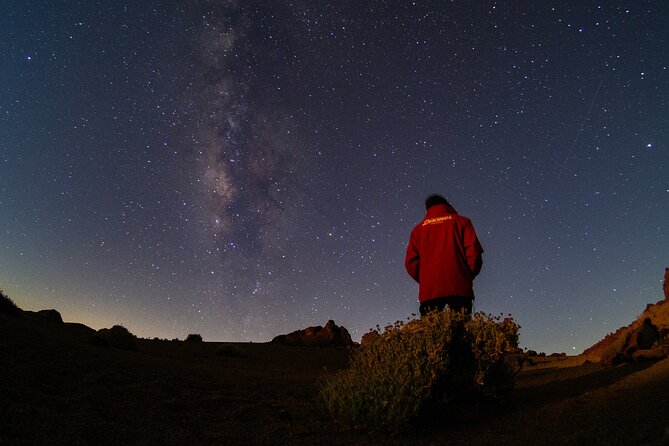
Teide National Park: why the sky feels so close
Stargazing on Tenerife is good. Stargazing at Teide National Park is different. The big advantage here is the dark sky: less light pollution means you see far more stars than you ever would from a city. That matters, because astronomy is easier when you can actually spot the building blocks in the first place.
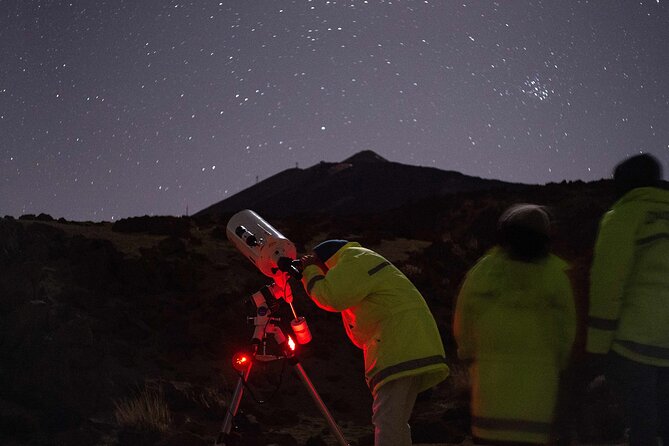
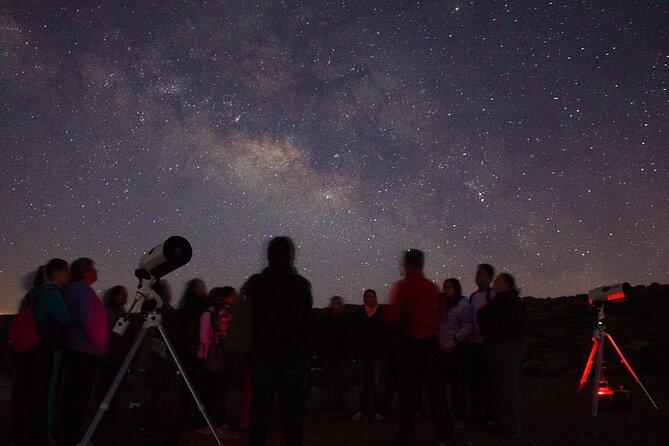
This tour is timed to start after sunset, and that’s not just scheduling—it’s part of how the night unfolds. You’re not dumped straight into a telescope. Instead, you begin with the stars you can see with your own eyes. That gives you context, and it makes the telescope views feel like the next step, not a separate show.
And yes, you’ll get that wow factor. But what I like most is the teaching angle. You’re not just looking up and hoping for the best. You’re learning how to find your way around the sky.
You can also read our reviews of more tours and experiences in Tenerife.


The 80-minute flow: what happens after sunset
The whole experience is designed around momentum. You start in a place with safe access, then you build confidence quickly. The tour lasts about 80 minutes, so they keep things focused and efficient.
Step 1: Naked-eye sky orientation (before the telescopes)
Right after the tour starts, you begin with the sky basics. You’ll learn to recognize key stars and key patterns, starting at the level where you’re not expected to be an amateur astronomer.
This is where the guide’s method really shows:
- Polaris and the celestial north pole are pointed out so you can orient yourself without needing a map app.
- The tour also covers the ecliptic and zodiac line, which helps you understand where the Sun’s path projects onto the sky and where the zodiac appears.
- You’ll follow Greek mythology through the night sky. That sounds like a gimmick until you realize it gives you shapes and stories you can remember.
If you’ve ever stared up and thought, I can’t tell anything apart, this part changes that feeling fast. Once you can place north (via Polaris) and recognize a few anchors, the sky stops looking like random dots and starts looking like a system.
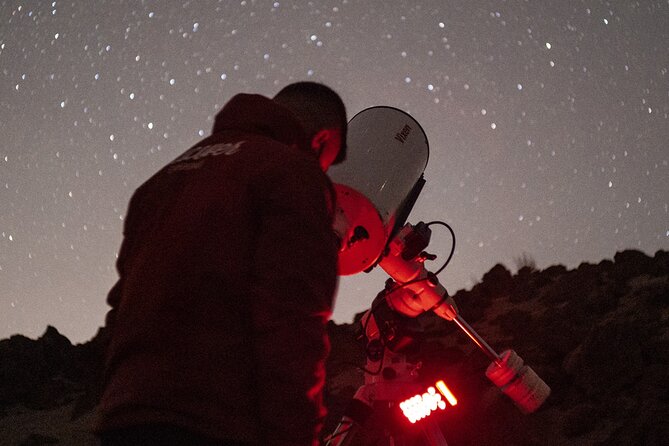
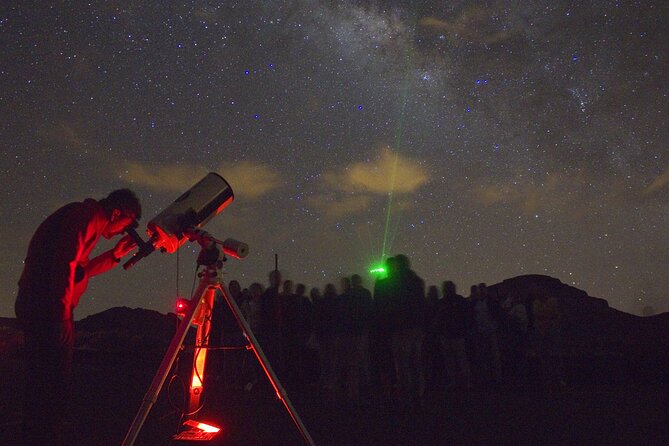
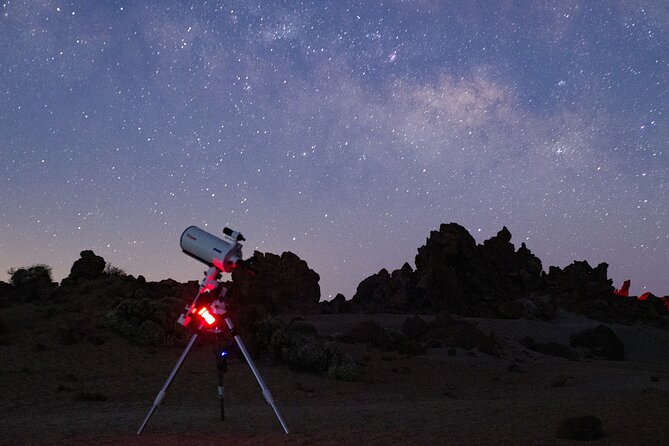
Step 2: Telescope observing once you have your bearings
After orientation, the tour shifts to the telescopes. This is when the night gets more physical. You’ll observe outstanding celestial objects and also look for planets when they’re visible.
From what you can expect in practice, this is not a “peek and move on” style. People have reported seeing major targets like:
- Jupiter and its moons
- Saturn
- Bright deep-sky sights such as Orion’s nebula
- The Andromeda galaxy
- Mars when conditions line up
Even if your only astronomy experience is a few photos online, the telescope time is the moment you understand what the equipment is for. You start to see detail and structure in objects that look like pinpoints or faint smudges to the naked eye.
Step 3: Turning what you see into something you keep
There’s an astrophoto telescope aspect built in. The goal is simple: you don’t just leave with memories—you get images tied to what you observed during the session. Some nights include photo results of objects like star clusters and galaxies, sent after the tour.
That’s a nice touch because it gives you a reference for the next time you look up. It helps you connect the story you learned to an actual image you can study later.


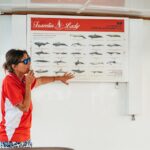
Guide style matters: what to look for in the night’s teacher
A good stargazing tour lives or dies with the guide. Here, the guide is the difference between a quiet, cold walk and an engaging lesson you’ll remember next week.
The tone is typically clear and enthusiastic, with humor mixed in. People have highlighted guides like Miguel for being passionate and easy to follow, and other guides such as Manuel for explaining moon and constellations in an entertaining way. You can also expect Spanish and English instruction, so you’re not stuck waiting for translation.
A practical point: the guide spends real time on orientation. If you’re the type who wants to know why you’re seeing something (not just what you’re seeing), this tour fits well. The myth + science combination is deliberate—it helps both beginners and the curious.
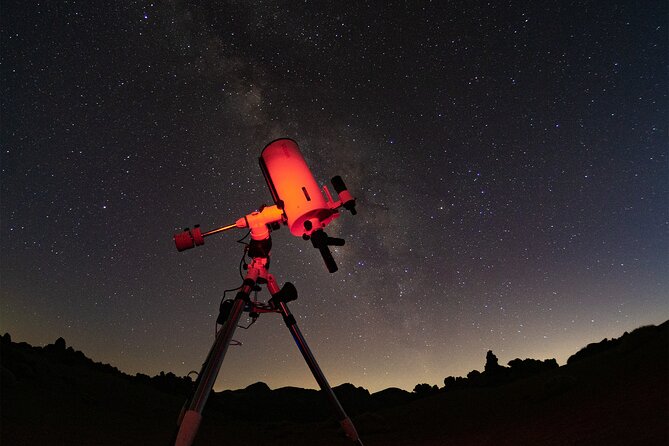
Telescopes at Teide: what you gain beyond photos
A telescope can be a letdown on some tours because it’s used like a vending machine: look, blink, done. This one feels more like coaching.
You’ll typically move from:
- A naked-eye overview where you learn constellation positions, and then
- Telescope views of the most interesting objects available that night
That sequence is useful because it changes your perception. When you first see Jupiter or Saturn through a telescope, your brain grabs onto the idea that the dot you saw earlier wasn’t “nothing.” It was a whole world you simply couldn’t resolve yet.
Also, you’ll understand the sky layout better because the guide ties what you’re looking at to navigation tools like Polaris, the zodiac line, and the ecliptic.
Meeting point and getting there without stress
You meet in the parking area just in front of the natural environment of Minas de San José.
- If you come from the south, it’s the second car park on the right.
- If you come from the north, it’s the first car park on the left.
That’s pretty specific, but it still helps to arrive a few minutes early so you can park, collect your warm gear, and settle before dark deepens.
Weather reality check: cold is part of the program
This tour happens at night at altitude, and the temperature is low. The most repeated advice is straightforward: bring warm clothing and warm shoes. People have noted that after a couple hours outside, they were frozen, even if they started out thinking they’d be fine.
Here’s how to think about it:
- Even if the weather looks mild earlier, it can cool quickly once the sun is gone.
- Wind can make it feel colder than the thermometer suggests.
- You’ll stand still at times while the guide points things out, so warm layers matter more than you might expect.
If you have limited tolerance for cold, you’ll enjoy the telescope more if you plan for comfort.
Who this tour is for (and who should skip it)
This stargazing experience is a great fit for:
- First-timers on Tenerife who want a guided start to understanding the sky
- People who like both science and storytelling (myth links help you remember)
- Anyone who wants practical sky navigation, not just random pointing
It may not be a good fit if you:
- Have heart problems
- Have respiratory issues
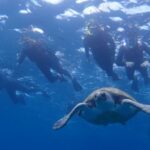
- Need to avoid strenuous conditions after diving up to 24 hours prior
- Are traveling with pets or rely on unaccompanied minors (not allowed)
If you’re generally healthy and okay standing outside in cold conditions, this is one of the more educational activities you can book for Teide.
Price and value: why $41 can feel fair
The price is listed at $41 per person for about 80 minutes. That’s not a “cheap” add-on, so you should judge it by what’s included.
What you’re paying for:
- A professional astronomical guide
- A structured explanation starting with naked-eye constellations
- Telescope observation time for major targets
- Insurance during the tour
- An astrophoto setup and follow-up images of what you observe (when applicable)
Compared with doing stargazing alone, the value is in the guidance. You don’t have to spend your limited Tenerife night figuring out Polaris, the zodiac line, and what to point your lens at. You just show up, learn fast, and see the objects through equipment that most visitors don’t have.
Booking timing: the moon and why it matters
This tour specifically warns you to pay attention to the moon’s cycle. That makes sense: a bright moon washes out faint stars and affects what’s most impressive through the telescope.
Also, if you book far in advance, the start time could vary. The provider typically confirms the schedule after booking via WhatsApp or email, so plan to watch for that message.
If you’re flexible and you can choose a night with favorable moon conditions, you’ll likely get the best visual results.
Quick planning checklist before you go
Bring:
- Comfortable shoes
- Warm clothing
- Warm shoes
Plan to:
- Show up prepared for cold
- Keep your schedule for a night-start after sunset
- Expect instruction in Spanish or English
Skip:
- Pets (not allowed)
- Any travel plans that conflict with the health and diving notes
Should you book this Teide stargazing tour?
Yes, if you want more than a casual look at stars. Book it if you like structured learning—especially the parts about Polaris, constellation navigation, and what the zodiac/ecliptic mean in real terms. The telescope time is the reward, but the orientation lesson is what keeps you engaged from minute one.
Skip it if you don’t handle cold well or if any of the health constraints apply to you. This is a night outside at altitude, and it’s built for people who can dress for that.
If you’re the kind of traveler who likes to come home with something to reference—like telescope images and a clearer map of the sky—this is one of the best “one-night” choices you can make on Tenerife.
FAQ
What’s the duration of the Teide National Park stargazing tour?
The tour lasts about 80 minutes.
Where do I meet for the tour?
Meet in the parking area in front of the Minas de San José natural environment. From the south, use the second car park on the right. From the north, use the first car park on the left.
What’s included in the price?
Included are a stargazing explanation with naked-eye viewing, astronomical observing with telescopes, a professional astronomical guide, and insurance during the tour.
What should I bring to stay comfortable?
Bring comfortable shoes, warm clothing, and warm shoes. Temperatures are low at this altitude.
Are pets allowed?
No, pets are not allowed on this tour.
What languages are the guides?
The tour offers live guidance in Spanish and English.
Does the moon affect what I’ll see?
Yes. The tour notes that you should be aware of the moon’s cyclical nature when booking.
Who might want to avoid this tour based on health?
It’s not suitable for people with heart problems or respiratory issues, and it also notes avoiding diving up to 24 hours prior.