REVIEW · TENERIFE
Teide National Park: Moonlight Tour & Stargazing Experience
Book on GetYourGuide →Operated by Discover Experience · Bookable on GetYourGuide
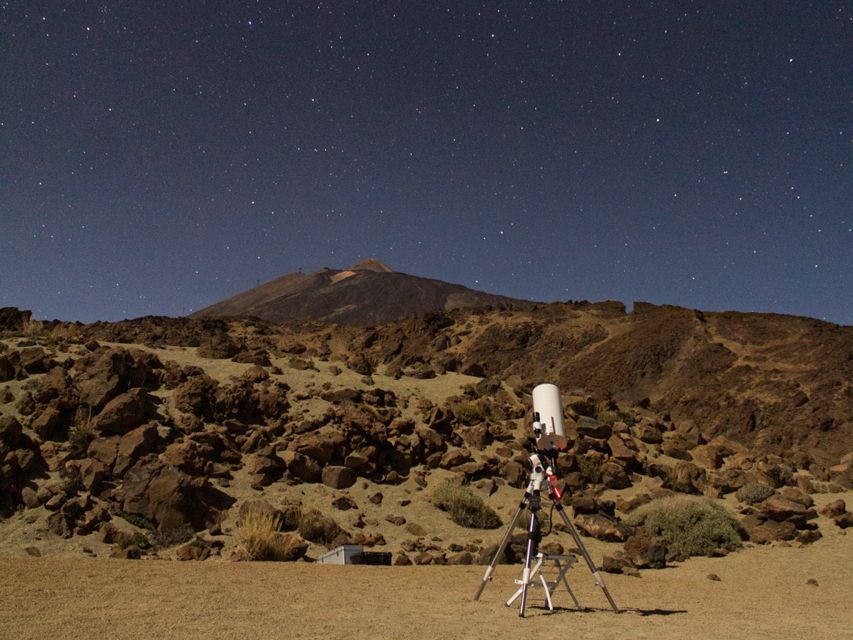
Moonlight turns Teide into an outdoor observatory. In Teide National Park, you’ll see the landscape washed in moonlight, then learn the sky in a way that actually helps you spot things yourself. Two things I especially like: the moon-focused viewing (high contrast, lots of detail) and the guided warm-up that gets you oriented fast.
Next comes the part most people book for: the sky through high-end telescopes and the chance to see the tour use an astrophoto system to turn what you observe into images. If your guide is Miguel or Óscar, you can expect clear explanations and an upbeat pace, without turning it into a lecture hall.
One drawback to keep in mind: the group can be big, so you may wait in line for telescope time, and you shouldn’t count on taking your own photos through the scope. Also, the tour only runs on the brightest moon nights, so if the moon underperforms, the plan changes.
In This Review
- Key things to know before you go
- Moonlight Teide: Why This 80-Minute Night Session Works
- Meeting at Minas de San José: Parking, timing, and what to wear
- Start with your own eyes: constellations, Polar Star, planets, zodiac
- Telescope time: planets, satellites, and the moon up close
- Astrophoto telescope: what images you’ll actually get
- How to time your effort in 80 minutes
- Price and value: is $41 for moonlight stargazing a fair deal?
- Who should book—and who should skip this night
- Final call: should you book Teide Moonlight Tour & Stargazing?
- FAQ
- Where is the meeting point?
- How long is the tour?
- What’s included in the price?
- Are there hotel pickup and dropoff services?
- What should I bring?
- Is this tour suitable for everyone?
- Is the moon always visible, and can the start time change?
Key things to know before you go
- Moon-at-its-best nights only: the whole experience is built around strong moonlight.
- Naked-eye sky training first: you’ll learn how to find Polar Star and what to look for next.
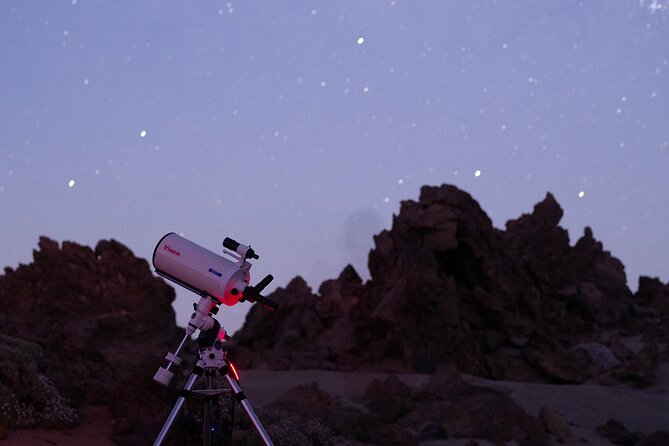
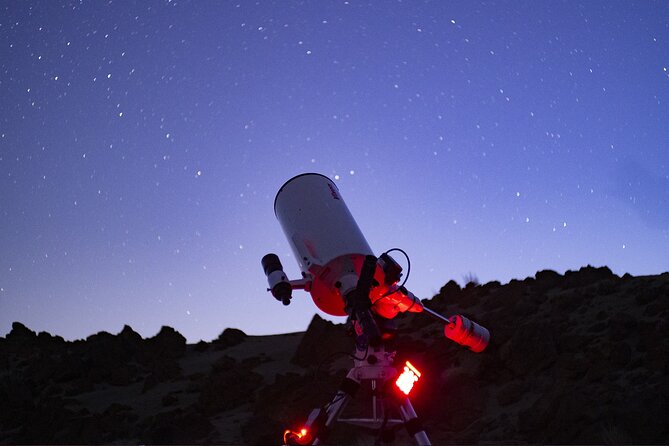
- High-end telescopes: the viewing includes planets, satellites, and the moon up close.
- Astrophoto telescope imaging: the tour uses its own system to create images from what you see.
- Dress for cold: warm layers are not optional in Teide night air.
Moonlight Teide: Why This 80-Minute Night Session Works
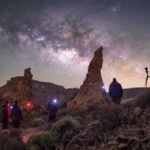
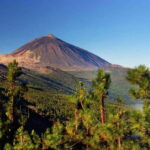
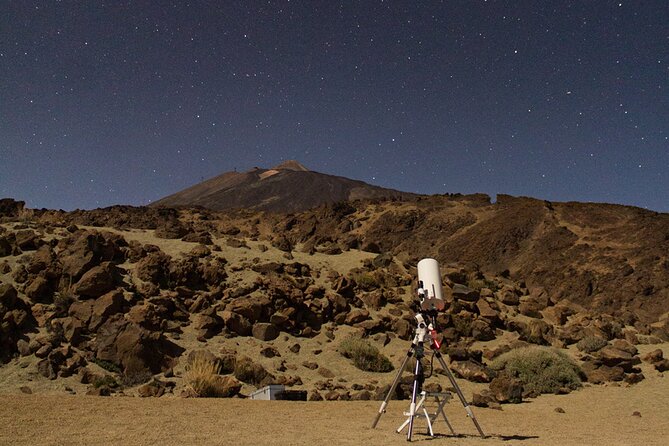
Teide National Park is spectacular in daylight, no argument. But this tour changes the feel completely. Instead of bright sun flattening textures, moonlight brings out shadows and edges, so the volcanic landscape looks sharper and more dramatic. The key detail is that this is not a generic stargazing “any night” program. It’s designed for when the moon is at its brightest, so the sky you’re learning is lit enough to guide your eyes without the full darkness that hides every detail.
That moon focus matters for two reasons. First, you get a different kind of “wow” than you’d get from a purely dark-sky session. You’re not just hunting faint points of light—you’re also watching a luminous moon pull the whole scene together. Second, a brighter moon helps the guide point out specific targets and constellations you can actually track with your naked eye.
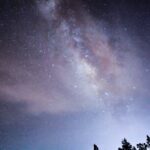
Is it the same as a classic dark-sky astronomy night? Not quite. Here, the moon is part of the show, not just a background object. If you’re hoping for a night where the Milky Way steals the spotlight, this may not match your expectations. But if you want the moon, planets, and a guided route through the sky in a short time window, this format makes a lot of sense.
And yes, you may also catch the moon rising depending on timing. One person described seeing it rise, which tells you the tour’s viewing plan can include movement, not just staring at one spot.
You can also read our reviews of more tours and experiences in Tenerife.


Meeting at Minas de San José: Parking, timing, and what to wear
The tour does not include hotel pickup. You’ll meet at the parking area in front of the Minas de San José natural environment. The directions are simple, but you’ll want to read them carefully so you don’t waste the first minutes hunting for a sign in the dark.
If you come from the south, it’s the second car park on the right. If you come from the north, it’s the first car park on the left. From there, you’ll start the sky lesson and telescope time.
Timing is usually tight because the whole experience is 80 minutes. After you book, the provider may contact you through WhatsApp or email to confirm the schedule, especially if you booked months ahead. Translation: expect a slight variation in the start time, and plan to be ready when they message.
What to wear is the real make-or-break. This is Teide at night, and the tour is explicit about it being cold. Bring warm clothing and warm shoes, plus comfortable shoes because you’ll be standing outside. One of the best pieces of advice from an April night: warm clothes really means warm clothes. If you think you can handle it in a light jacket, you’ll probably regret it after a few minutes under moonlit sky air.
Also, you can’t bring pets, and unaccompanied minors aren’t allowed. If someone in your group has health limits, read the next section before committing.
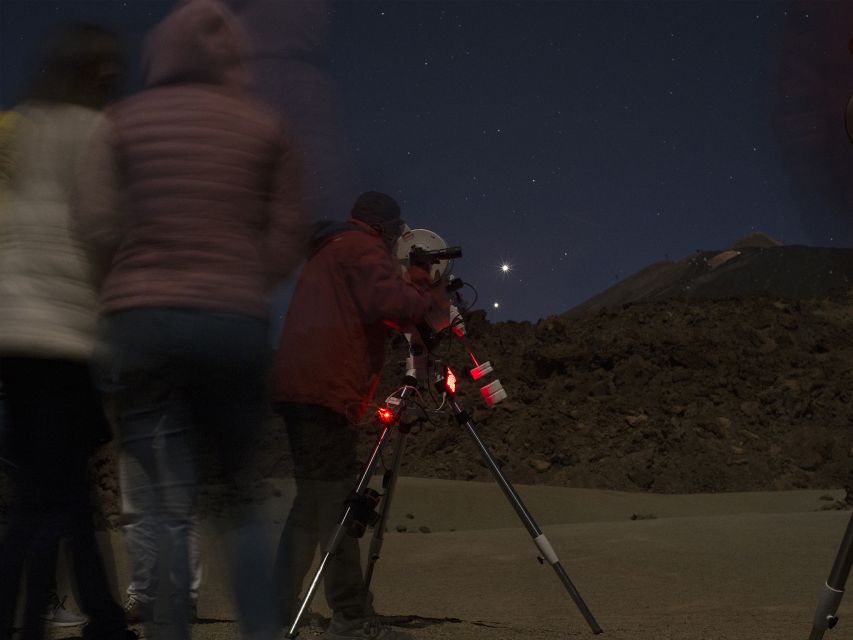
Start with your own eyes: constellations, Polar Star, planets, zodiac
The tour begins with a naked-eye portion that’s meant to make you feel capable fast. You’re not left in the dark with a guide saying, look up. You start with an explanation of the brightest constellations, plus how to find the Polar Star. That’s a practical skill, not just trivia. Once you know where to aim, you can re-find your bearings even after you step away from the telescope later.
Then the guide walks you through the histories of what you’re seeing, and how to look for the visible planets and zodiac constellations. Even if you don’t memorize every name, you’ll come away with a better map of the sky than you had when you arrived. That matters because you’ll likely recognize at least a few patterns even after the group moves positions.
A fun detail: this is moonlight stargazing. With the moon up, the sky lighting is different from total darkness, so constellations can look higher-contrast and more “findable.” You’ll spend less time wondering if you’re looking at a star or a noise, and more time actually spotting targets the guide points out.
If you want to get more out of the night, this is where you do it. Listen closely in the first phase. The telescope portion goes quickly, and it’s easier to enjoy it when you already understand the basic directions and target types.
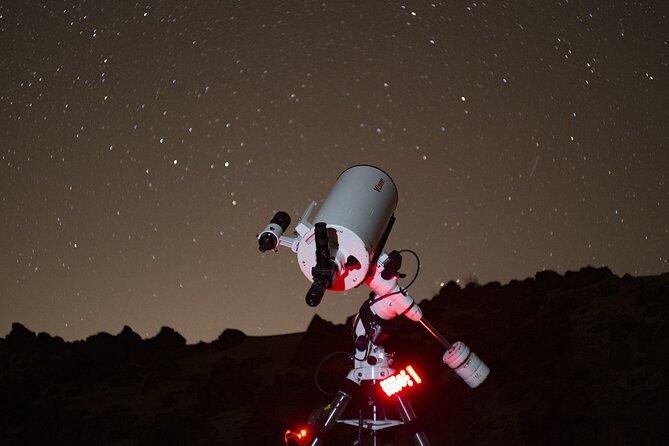
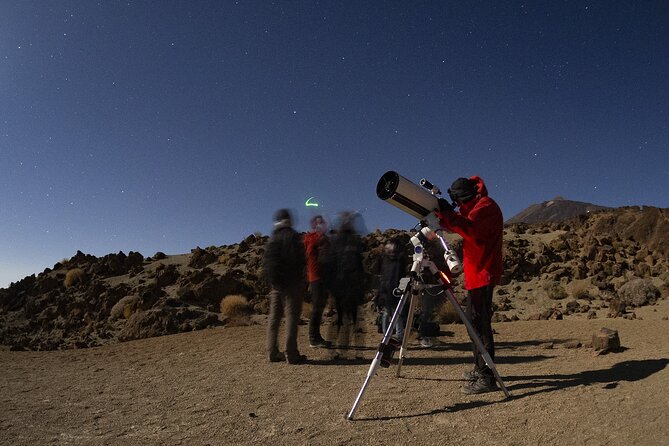
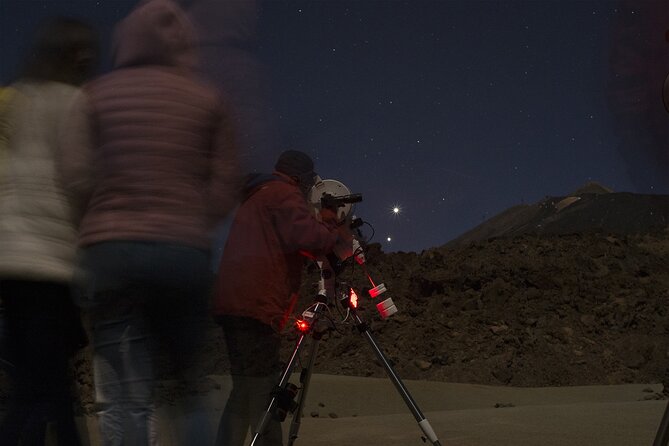
Telescope time: planets, satellites, and the moon up close
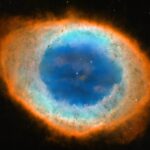
After the naked-eye portion, you’ll look through the telescopes to see the most impressive objects overhead. The tour highlights include planets, satellites, and the moon. People also specifically reported spotting planets such as Mars and Jupiter, which is exactly the kind of payoff you want from a short program.
Here’s the practical part: telescope viewing is always a little “flowy.” You’ll likely rotate positions as the group lines up. One person described waiting when there were multiple telescopes in operation (they counted six in that outing). Another mentioned the group was large, which can mean longer waits and less time at each eyepiece.
So when telescope time starts, don’t rush. Move with the group, get seated or positioned where you can hold still, and give the guide a moment to align the scope. Also, let your eyes adjust as you shift from moonlit sky brightness to the telescope view. It’s normal for your vision to feel a bit off at first.
One more expectation to set: this is a guided astronomy session, not a do-it-yourself workshop. You’ll see what the guide wants you to see, and you’ll likely have a limited window to spend at the eyepiece. If you’re the type who wants to independently experiment for an hour, you’ll feel the time pressure.
Still, with the right attitude, it’s a strong hit for the price: guided targeting plus high-quality equipment, within an 80-minute window.
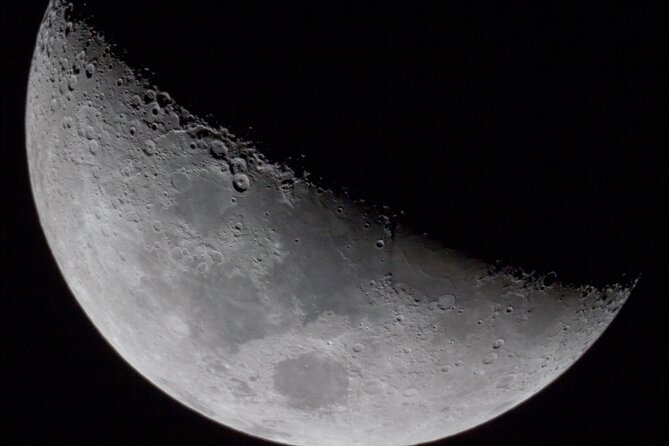
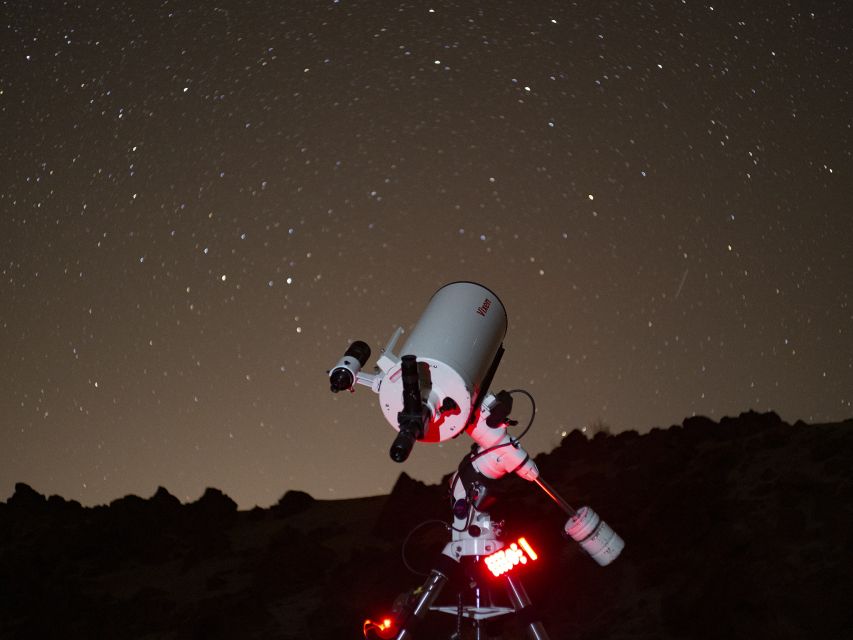
Astrophoto telescope: what images you’ll actually get
The tour includes an astrophoto telescope, and the promise is pretty straightforward: you’ll turn what you see into stunning images. In other words, the imaging is part of the experience, not just an optional add-on.
At the same time, don’t plan on leaving with a folder of your own telescope photos. One person noted that you can’t take your own photos through the telescope, and that’s a key detail to weigh. The tour’s imaging setup seems to handle the photography side, while you focus on looking.
If you love astronomy and want both the viewing and the results, this is still a good match. You’ll get the mental memory from seeing the objects directly, and you’ll also benefit from the imaging approach that the tour uses.
The best move is to be flexible. Think of the astrophoto system as the photo workflow for the group. Your job is to show up warm, stand steady, and watch when the guide brings targets into view.


How to time your effort in 80 minutes
Eighty minutes sounds short because it is short. That’s the point: you get a compact sky lesson plus telescope time without spending an entire evening outdoors. But short also means you need to show up ready.
Here’s how I’d plan your mental effort:
- Use the first minutes to learn Polar Star and sky directions. This reduces confusion later.
- Stay patient during telescope rotation. If the group is large, waiting is part of the format.
- Dress for comfort so cold doesn’t steal your focus. Standing still makes temperature feel worse fast.
Group size also affects pacing. When telescope stations are busy, you’ll spend more time waiting and less time lingering at any single target. If you want the most satisfying viewing burst, keep your expectations realistic and stay engaged with what the guide is pointing out.
Also, remember that this tour is tied to the moon being brightest. That means the objects you experience and the lighting conditions are intentionally set. Don’t treat the moon like an annoying bright competitor. In this tour, it’s the star lighting the stage.
Price and value: is $41 for moonlight stargazing a fair deal?
$41 per person for an 80-minute experience in Teide National Park is a value play, assuming you’re okay with the structured format. The price isn’t just paying for a guide. It’s also paying for high-grade telescopes, the live astronomical guide, and insurance during the tour.
You’re also getting something many self-guided efforts can’t replicate easily: a plan. There’s a sequence—naked-eye constellations, Polar Star orientation, planets and zodiac guidance, then telescope viewing. That matters because astronomy can feel frustrating when you don’t know what you’re looking at.
Is it expensive compared with walking up and stargazing on your own? Sure. But if you want a guided sky map plus telescope views in one sitting, the cost starts looking reasonable. And you don’t have to bring your own equipment, locate targets, or figure out alignment.
The biggest value question is also the biggest expectation question: this experience is built around moonlight. If you want maximum darkness and Milky Way hunting, you might feel shortchanged. If you want a clear, teachable sky route plus planets and moon viewing with strong moon lighting, it’s a solid buy.
Who should book—and who should skip this night
This tour can be great for people who like structure and short, high-payoff experiences. You don’t need astronomy experience. You do need patience and the willingness to stand outside in the cold.
It’s not suitable for:
- people with heart problems
- people with respiratory issues
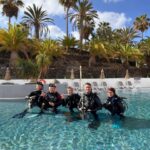
- people who dived up to 24 hours prior
Also, pets aren’t allowed, and unaccompanied minors aren’t permitted.
If you’re generally healthy and you can handle cold weather, you’re likely fine. Just pack for it and avoid showing up in summer gear. The difference between comfortable and miserable is basically your warmth layers.
The best fits include couples, solo visitors who want a guided orientation, and anyone who enjoys learning what they’re seeing rather than just staring.
Final call: should you book Teide Moonlight Tour & Stargazing?
I’d book this if you want:
- moonlight views of Teide plus guided stargazing
- a quick lesson that helps you find Polar Star and understand constellations
- telescope time that targets planets and the moon, within 80 minutes
- an approach that also includes astrophoto imaging results
I’d think twice if:
- you’re hoping for a fully dark-sky session with minimal moon effect
- you hate waiting in lines for equipment during busy group rotations
- you’re counting on taking your own photos through the telescope
If you do book, go prepared for cold and plan to be flexible about timing and visibility. The tour runs only on nights when the moon is at its brightest, and the schedule can shift slightly after booking confirmation. That’s not a problem—it’s part of why the experience is intentionally designed.
FAQ
Where is the meeting point?
You meet in the parking area just in front of the natural environment of Minas de San José. If you come from the south, it’s the second car park on the right. If you come from the north, it’s the first car park on the left.
How long is the tour?
The duration is 80 minutes. Starting times vary by availability.
What’s included in the price?
Included are naked-eye stargazing, high-grade telescopes, an astronomical guide, and insurance during the tour.
Are there hotel pickup and dropoff services?
No. Hotel pickup and dropoff are not included.
What should I bring?
Bring comfortable shoes, warm clothing, and warm shoes. It will be cold, especially in autumn and winter.
Is this tour suitable for everyone?
No. It’s not suitable for people with heart problems or respiratory issues, and it’s not recommended for people who dived up to 24 hours prior. Pets are not allowed, and unaccompanied minors are not permitted.
Is the moon always visible, and can the start time change?
The activity is only available on nights when the moon is at its brightest. If you book months in advance, the start time could vary, and the provider will contact you through WhatsApp or email to confirm the schedule.