REVIEW · TENERIFE
Diving course for beginners in turtle area Tenerife
Book on GetYourGuide →Operated by Meerjungfrau Apnoe Akademie ES · Bookable on GetYourGuide
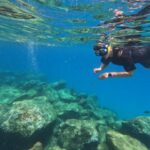
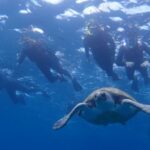
Tenerife’s turtles area makes first-time training real. You start in the shallows of Abades, learn how to breathe underwater, and then you’re guided to look for colorful fish, sea turtles, and even sting rays in the protected waters. It’s the kind of private, no-rush coaching that helps you relax fast.
What I really like is the focus on basics that actually matter: gear fit, controlled practice, and clear guidance so your body learns what your head is saying. I also like the wrap-up perks: you get a certification card plus high-quality photos and videos you can receive for free right after the experience.
One thing to keep in mind: the course is only offered with instructors in English, German, and Spanish, and they say it isn’t possible if you don’t speak one of those languages for safety.
In This Review
- Key things that make this beginner course worth your time
- Why Abades’ turtle area is perfect for your first underwater breathing lesson
- The 3-hour flow: from meet-up to first controlled breathing underwater
- What you’ll see: fish, sea turtles, and sting rays (and how to manage expectations)
- Instructor support and safety: what beginner coaching looks like here
- Your certificate card plus free photos and videos
- Price and value: why $100 can make sense for this setup
- Meeting point at Playa de Abades: what to do before you get in the water
- Health and eligibility: who this is built for (and who should reconsider)
- After your session: timing rules you should actually follow
- Should you book this first underwater course in Tenerife?
- FAQ
- FAQ
- Where is the meeting point?
- How long is the course?
- What is the price?
- Do I need any prior experience?
- What language will the instructor speak?
- Is equipment included?
- What do I get at the end?
- What should I bring and what is not allowed?
Key things that make this beginner course worth your time
- Shallow-water start in Abades so you can feel comfortable before going further
- Possible sea turtles and sting rays in a natural protected park area
- CMAS/international aquanautic club instructor support with a true beginner focus
- Free, top-quality photo and video package plus a certification card afterward
- Private group style coaching that can slow down for nerves, without rushing you
- Full equipment and diving insurance included so you are not shopping for gear on vacation
Why Abades’ turtle area is perfect for your first underwater breathing lesson
If you want your first underwater experience to feel meaningful, this is a smart place to do it. The meeting happens at Playa de Abades, right by the protected area where marine life lives year-round. The plan starts shallow, which matters because your first goal is not performance. Your goal is to get your brain and body synced: mask on, breathing rhythm, buoyancy comfort, and learning how it feels to move while staying safe.
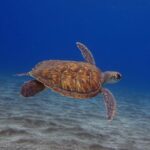
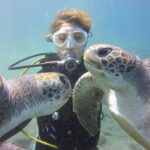
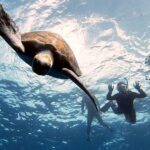
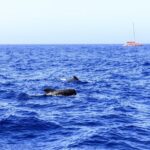
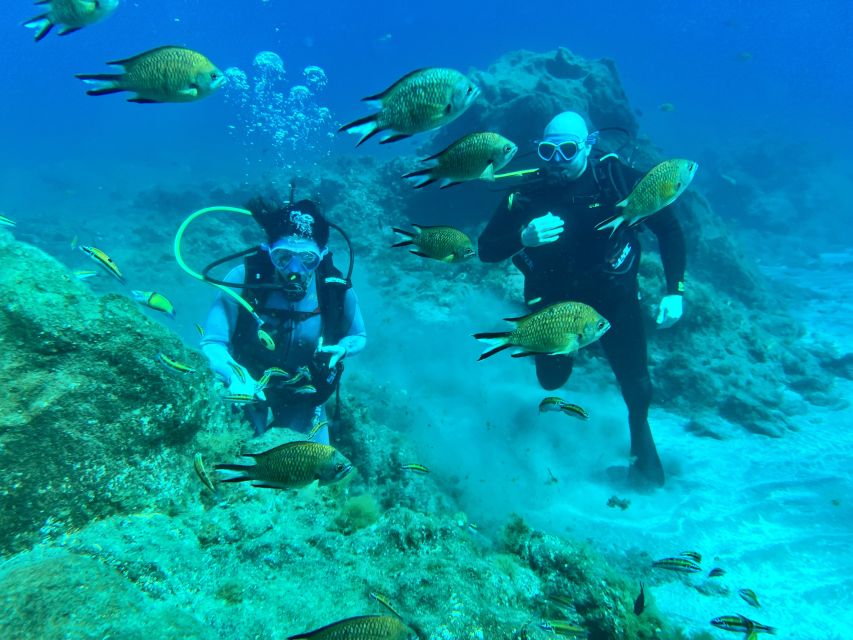
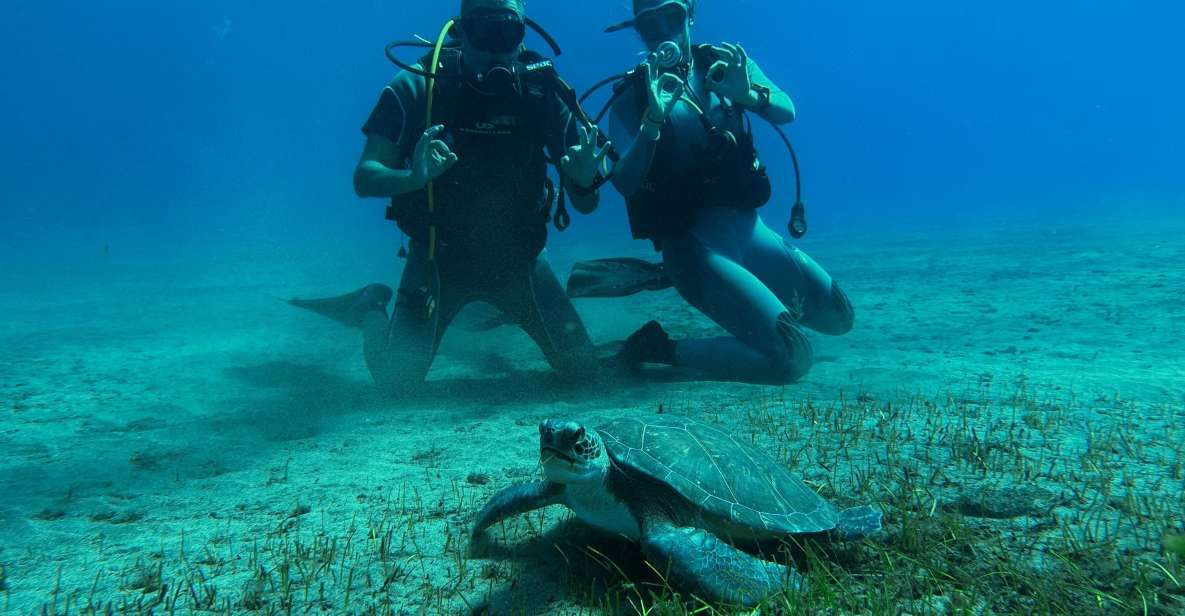
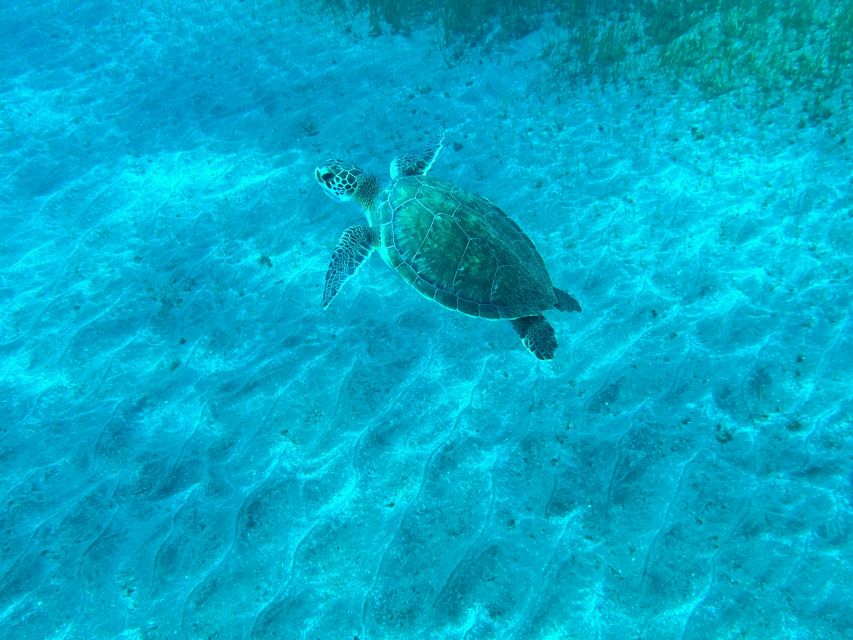
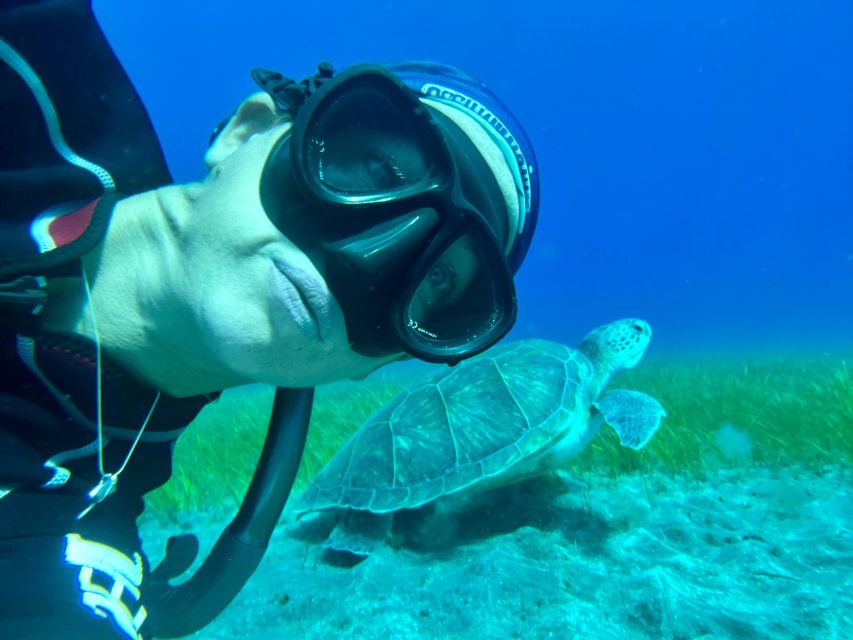
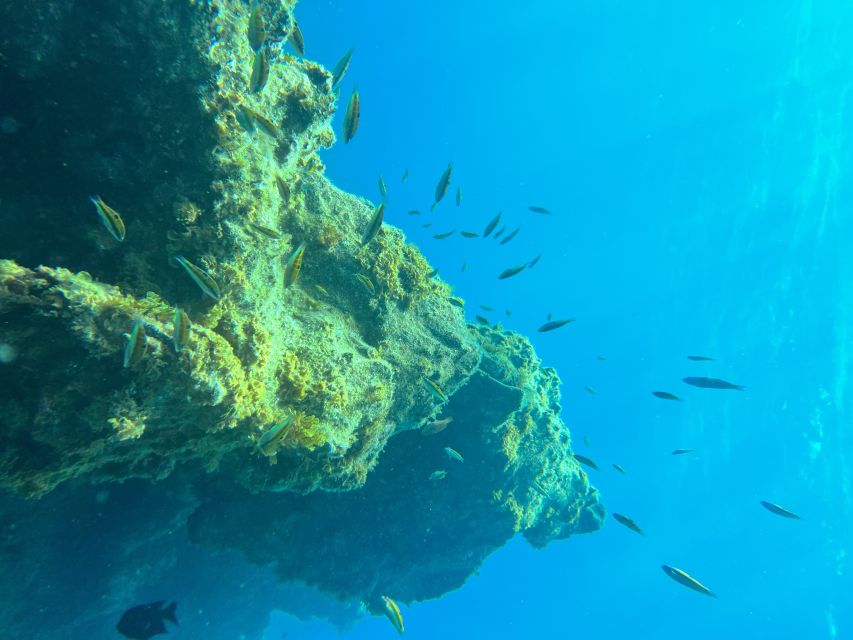
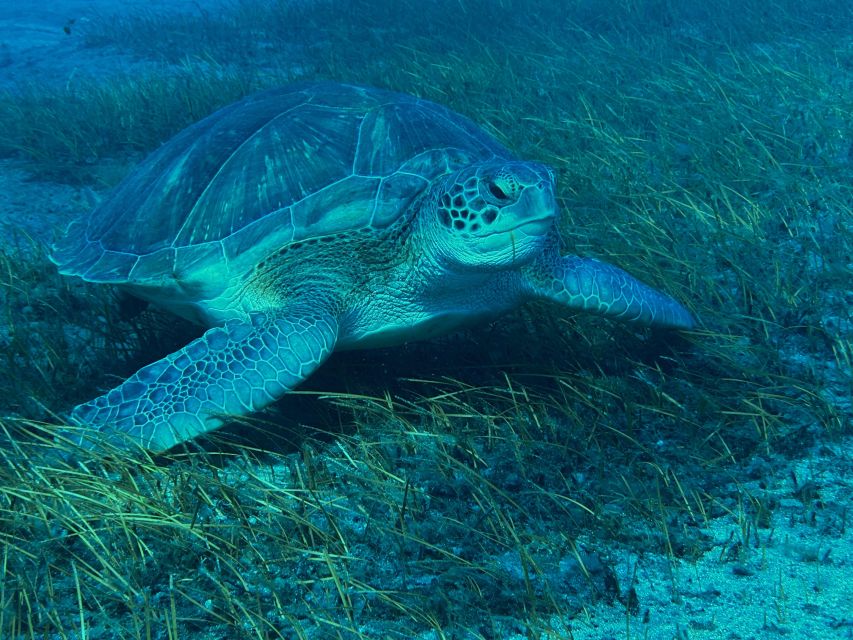
What makes this area especially appealing for beginners is the promise of seeing real wildlife. You’re going to look for colorful fish and, with luck, sea turtles and sting rays. That wildlife angle is more than marketing. When you can link your training to something you care about, you usually stay calmer and more curious. It turns a skills lesson into a memory.
Now, a practical note. These are wild animals. Even when conditions are good, turtles might not show up every time. That’s not a failure of the course. It’s part of living nature. The good news is the program is still built to teach you what you came for: breathing underwater safely.
You can also read our reviews of more scuba diving tours in Tenerife

The 3-hour flow: from meet-up to first controlled breathing underwater
This experience is short on purpose: 3 hours is enough time for training, guided practice, and a real look at the sea life, without turning it into a half-day slog.
Here’s how the timing feels, step by step.
You meet at the beach at Abades and the meeting point is easy to find: look for the restaurant called Magilu. Then you’ll get a full beginner course. That matters because your success underwater is mostly about understanding what comes next. You get the basics so you know why you’re doing each step, not just following hands on your shoulders.
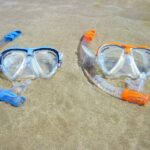
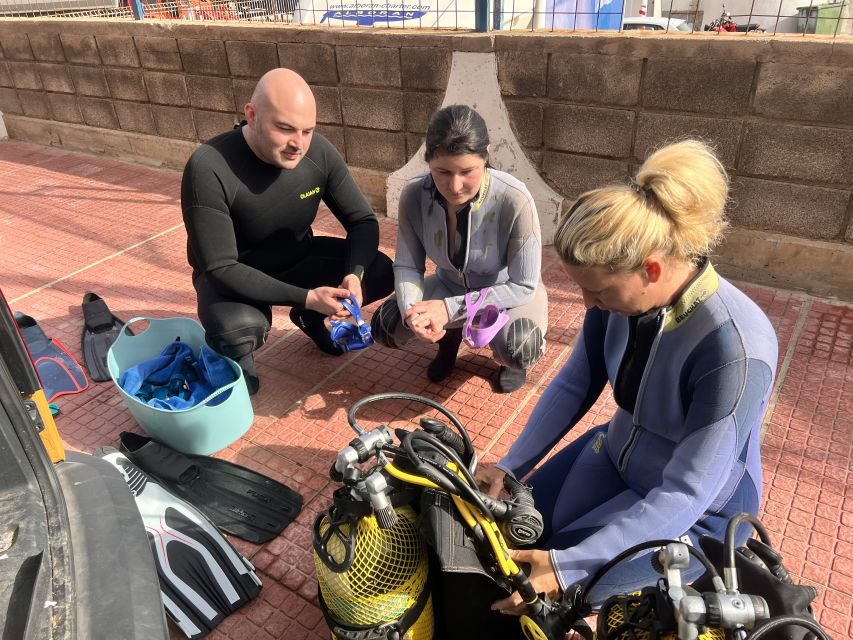
Next comes the gear session. You’ll put on the neoprene suit and get your mask and fins. You also get the jacket-equipment needed for your first buoyancy control work (the course description lists a diving jacket as part of the setup). This part is not just physical. A properly fitted kit is what prevents the most common early problems: mask fog, uncomfortable suits, and feelings of being out of control.
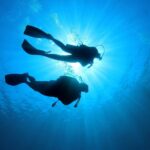
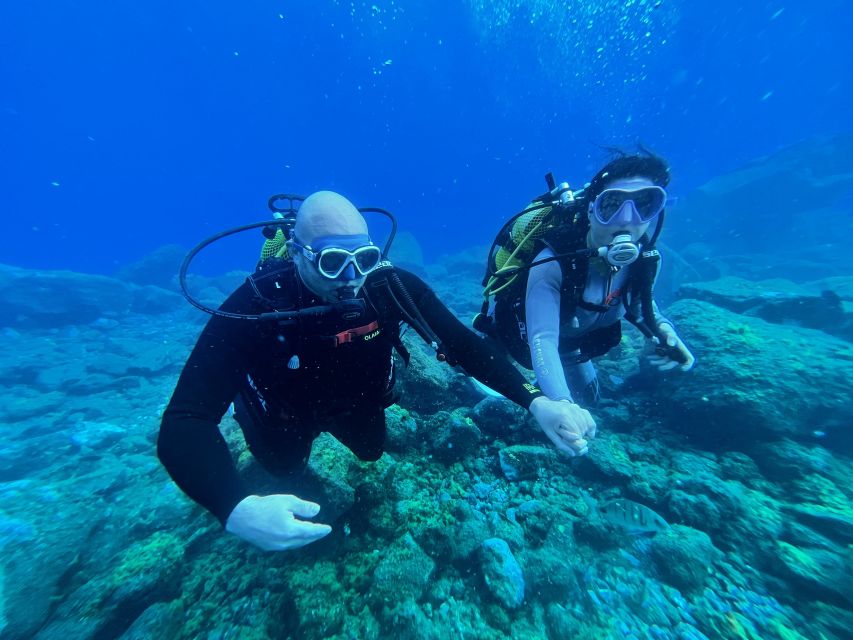
Once you’re suited up, you start in the shallows. The instructors have you take your first steps with everything on, so you can get used to the weight and movement before you start your underwater breathing work. Then comes the guided portion: you’ll be safely guided toward the underwater world of the Atlantic near the protected park area.
The big picture is simple: you learn, you practice, then you observe. And since it’s described as a private group experience with experienced instructors, the pace is meant to match you. That’s a big deal for people who feel nervous the first time.
What you’ll see: fish, sea turtles, and sting rays (and how to manage expectations)
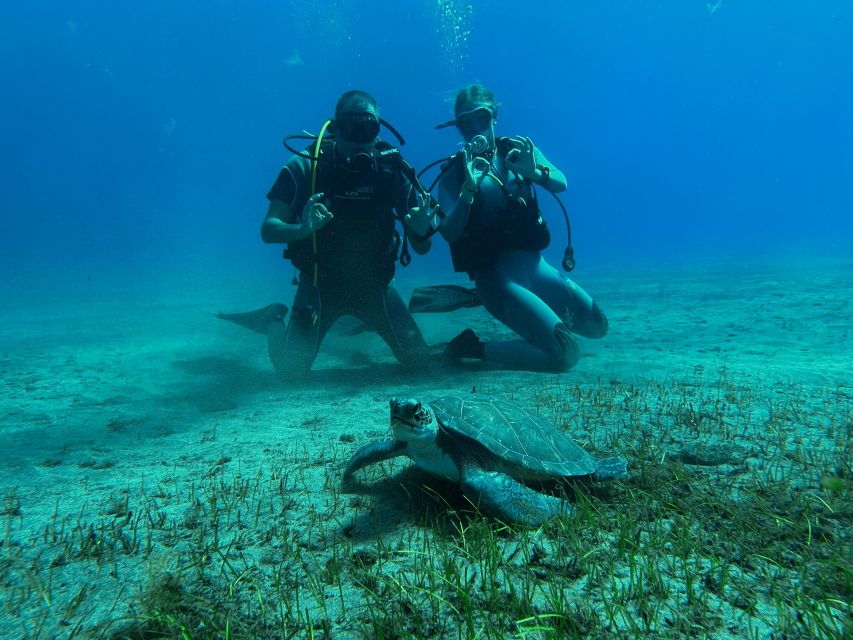
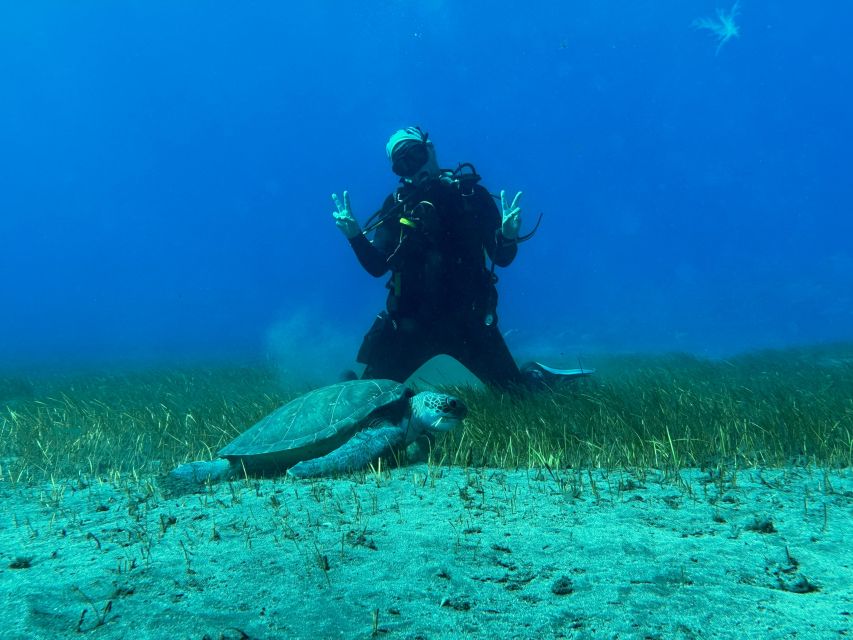
The main draw is wildlife. You’ll discover colorful fish and sea life, and with luck you may see sea turtles and sting rays. The course is set up so you’re not just staring at equipment or learning skills the whole time. You spend time in the water learning your breathing and then also looking around.
But stay flexible about outcomes. The course information explicitly notes that turtles are wild animals and sometimes they cannot be found. This is normal in ocean environments. If you mentally prepare for the idea that turtles are a bonus, you’ll enjoy the whole session more—even if your sighting is a no-show.
Also, the rules around interaction are strict, and that’s good. You’re told not to touch marine life, animals, or plants. For beginners, that protects both you and the ecosystem. It also keeps your attention on safe distance and good buoyancy rather than grabbing at something you shouldn’t.
If you care about the sea life aspect, this is the right mindset: focus on calm breathing and steady body position. The better you control yourself, the more likely you are to notice what’s around you.
Instructor support and safety: what beginner coaching looks like here
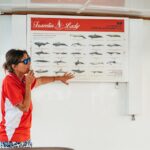
I pay attention to instructors on any first-time activity. Here, the instructors are listed as CMAS/international aquanautic club experienced professionals, and that shows in the way the course is described: training before water time, shallow-water confidence-building, then guided underwater exploration.
One of the most praised parts from the provided feedback is how supportive and attentive the instructors feel. In Spanish, one reviewer calls out Andres as an excellent monitor and very attentive. Another review describes the team making them feel like family. That kind of human warmth matters, because the biggest enemy for beginners is not ocean depth—it’s panic.
The course information also says they love helping people even if you are afraid. That suggests the instructors are used to nervous first-timers and will adjust their approach to keep you comfortable. And the experience is described as private and without rush, which is exactly how you want it for learning something that feels unfamiliar at first.
Safety also includes practical limitations spelled out in the course info. It lists that the diving activity is not suitable for people with issues like heart problems or respiratory issues, and it mentions panic attacks as not the best match for this sport. It also lists age and pregnancy exclusions, which I’ll cover later in a dedicated section.
Bottom line: if you want an intro that prioritizes coaching and calm, this course is built for you.
Your certificate card plus free photos and videos
Some beginner courses end with you leaving with memories and maybe a few blurry phone shots. This one is set up to do more than that.
You receive a certification card of your first underwater experience after you’re back at the beach. That gives you something tangible that says you completed training, not just a casual swim.
Then there’s the photo and video package. The information promises a lot of photos and videos during your experience, and you can have them directly after the tour for free, described as top quality. That is a real value-add because it removes the usual problem of first-timers trying to manage buoyancy while also trying to capture the best angle with a phone.
If you’re bringing friends or family back home, this is also a nice way to share something more vivid than a single shot. The certificate plus visuals make the whole experience feel official and complete.


Price and value: why $100 can make sense for this setup
$100 per person for a 3-hour beginner course can sound either high or fair depending on what is included. Here, the value comes from the package design.
You get:
- Full equipment (neoprene suit, mask, fins, and the needed buoyancy-jacket setup)
- Diving insurance
- An experienced instructor with CMAS/international aquanautic club background
- A certification card
- Photos and videos for free afterward
- A private group style experience
That means you are not paying extra for gear rental or insurance. And you’re not just paying for time underwater. You’re paying for coaching, safety oversight, and training structure. For a first-timer, that kind of support is the difference between feeling successful and feeling stressed.
The items not included are also clear: no food or drink, no changing room, and no hot shower. If those missing items matter to you, plan around it. Bring a towel, change clothes before or after as you can, and consider grabbing water and a snack nearby on your own schedule.
For me, the best sign of value is this: you leave with training plus a certificate, and you don’t have to buy your own camera setup to get good photos later.
Meeting point at Playa de Abades: what to do before you get in the water
This course has a simple starting point: go to the beach at Abades and find Magilu. Arriving a little early helps because you’ll want time to get oriented, use the bathroom if needed, and get your swimsuit situation sorted without feeling rushed.
What to bring is straightforward:
- Swimwear
- Towel
What not to do is also clear:
- No alcohol and drugs
- Don’t touch marine life, animals, or plants
That “no touching” rule isn’t just eco-friendly. It also keeps you from making risky contact while you’re learning. Beginners often focus on their breathing first. A clear no-touch rule reduces temptation and confusion.
Also, if you wear glasses: the info says people with glasses have to wear contact lens. So don’t assume you can keep glasses on. Bring contacts if that applies.
Finally, remember that it’s a short experience, so you don’t have time to decide on the fly. If you know you get cold easily, consider how you’ll handle the neoprene suit fit and time in the water. The suit is provided, but comfort is still personal.
Health and eligibility: who this is built for (and who should reconsider)
This experience lays out limits because safety comes first. Here’s what you should follow closely.
Not suitable for:
- Children under 10 years
- Pregnant women
- People with heart problems
- People with respiratory issues
It also notes that panic attacks are not the best match for this sport. If you have a history of panic, you should treat that warning seriously.
Non swimmers are possible but described as complicated. That doesn’t mean impossible, but it does mean you should be honest about your comfort in water. If swimming is a struggle for you, you might need more time or extra reassurance than the standard beginner flow provides.
Age and health limits are not small details here. Since you’re learning to breathe underwater, instructors can’t safely substitute for medical restrictions or major fear responses. If you fit within the guidelines, you’ll likely enjoy the experience much more. If you don’t, you’ll probably feel stressed.
After your session: timing rules you should actually follow
The course includes a few aftercare timing notes. They’re not the kind of thing you want to ignore just because it sounds inconvenient.
- No flights for up to 12 hours after the trip
- No extreme sports after the trip
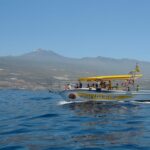
- Don’t visit Teide for 9 hours after the trip
Those are smart precautions because they reduce risk after underwater activity. If your Tenerife plans include a flight the same day or a big hike to Teide soon after, you’ll want to schedule this experience earlier or on a day with buffer time.
Also, the course mentions that you’re not going to have a changing room or hot shower included. So plan your post-session routine accordingly.
Should you book this first underwater course in Tenerife?
Book it if you want a guided first underwater breathing lesson in Abades with the chance to see sea turtles and sting rays, and you care about getting a certificate plus photos/videos. This is especially appealing if you’re nervous at first, because the course is described as private and without rush, with instructors who help even scared beginners. The strong focus on training structure is what makes this feel like a real learning experience, not just a quick splash.
Skip or rethink it if you don’t speak English, German, or Spanish, because the course says it isn’t possible for safety. Also, follow the health rules closely—heart, lung, and pregnancy exclusions are in place for a reason. And if you know you’re prone to panic attacks, treat the note about this not being the best sport for you as a serious guide.
FAQ
FAQ
Where is the meeting point?
The meeting point is at the beach in Abades. The instructions say to look for the restaurant called Magilu there.
How long is the course?
The duration is 3 hours.
What is the price?
The price is $100 per person.
Do I need any prior experience?
No experience is required. It is designed as a beginner course.
What language will the instructor speak?
The instructor languages are English, German, and Spanish. The course information also states that it is not possible if you do not speak one of these languages for safety.
Is equipment included?
Yes. Full diving equipment is included, along with diving insurance.
What do I get at the end?
You receive a certification card, plus photos and videos of your trip for free and in top quality.
What should I bring and what is not allowed?
Bring swimwear and a towel. The course rules say no alcohol or drugs, and you must not touch marine life, animals, or plants.